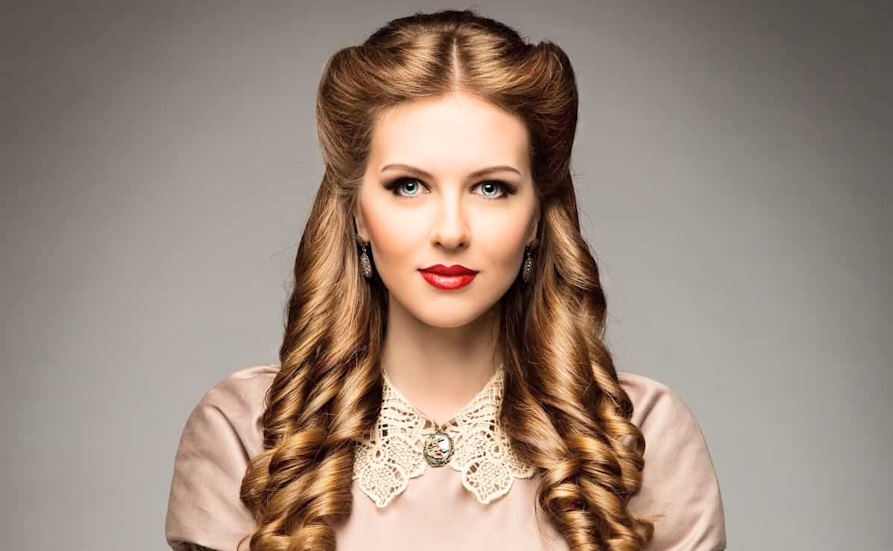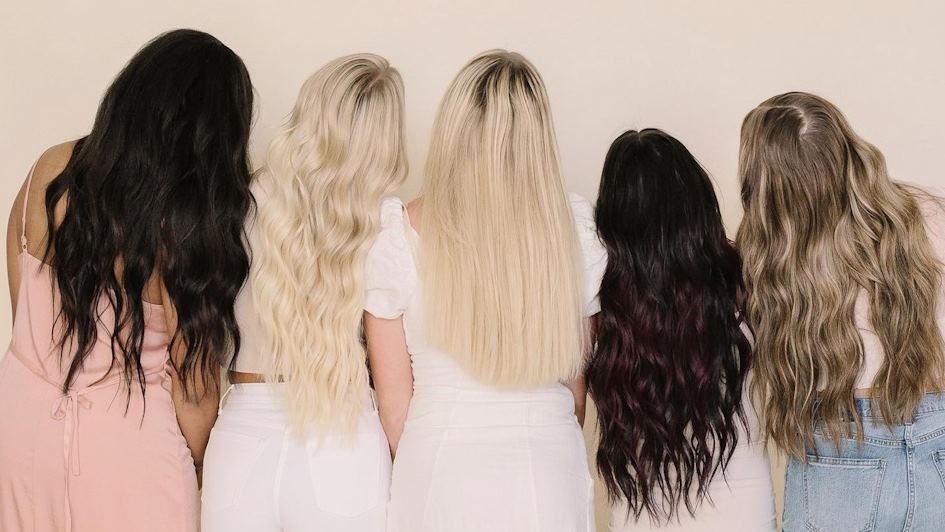
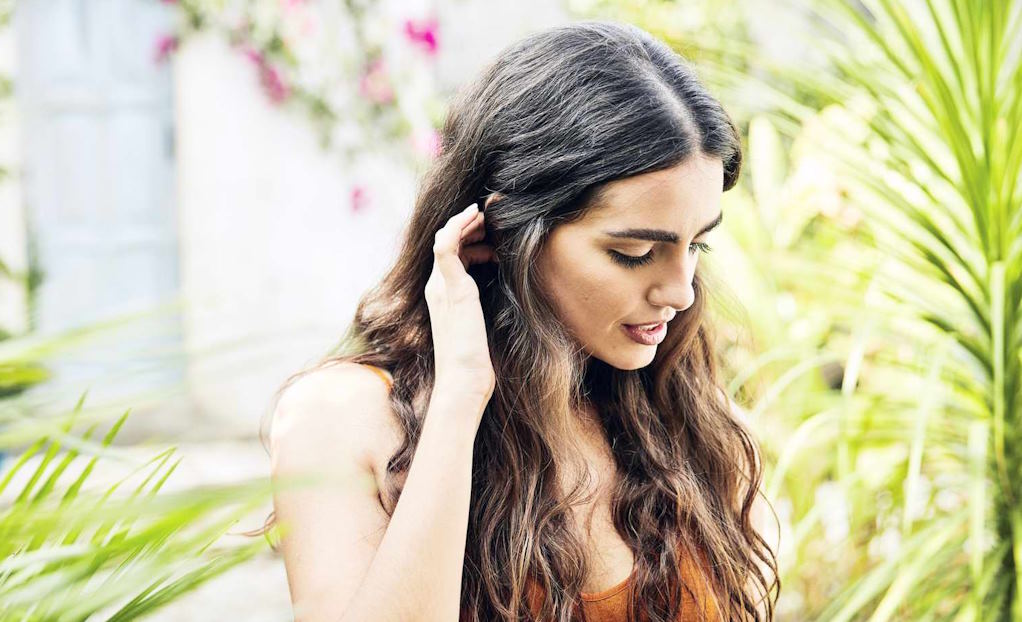
Mermaid waves, with their alluring and effortlessly chic appearance, have become a timeless hairstyle trend adored by countless individuals seeking that perfect blend of beachy and boho vibes. These waves, reminiscent of the salt-kissed tresses you’d find after a day by the ocean, have captivated fashion enthusiasts and celebrities alike. Whether you’re heading to a casual brunch, a romantic sunset dinner, or a music festival under the stars, mermaid waves can add an element of free-spirited elegance to your look that’s both enchanting and versatile.
Tools and Materials
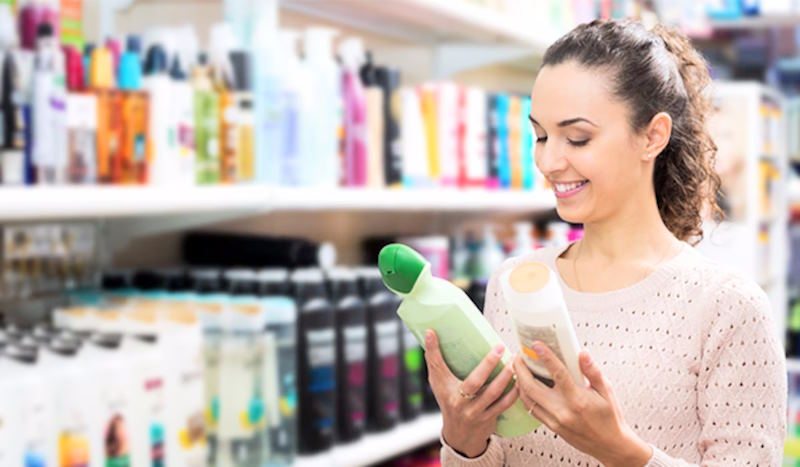
When embarking on your journey to achieve those mesmerizing mermaid waves, having the right tools and materials at your disposal is crucial. These essentials can make the difference between waves that fall flat and waves that steal the show. Let’s explore the key components of your mermaid wave toolkit:
Essential Tools for Creating Mermaid Waves
- Curling Wand vs. Flat Iron vs. Hot Rollers: Choosing the right styling tool is the first step to perfect waves. Curling wands are excellent for creating defined, bouncy waves, while flat irons offer versatility, allowing you to adjust the wave’s size. Hot rollers, on the other hand, provide a more relaxed, voluminous wave. The choice depends on your desired look and comfort level with each tool.
- Hairbrush and Comb Options: Before diving into the curling process, ensure your hair is tangle-free. A wide-tooth comb works wonders for gently detangling, while a paddle brush is ideal for smoothing and distributing hair products evenly.
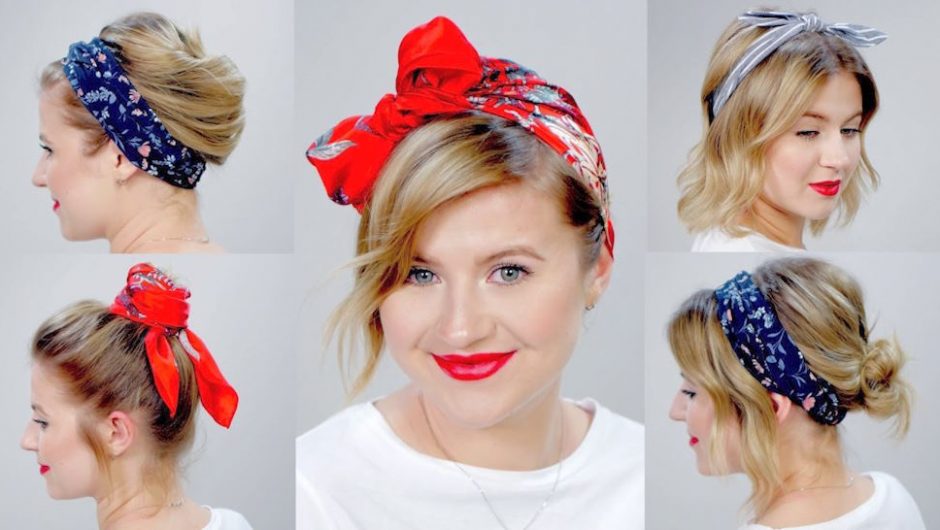
Recommended Materials like Hair Clips and Elastics
Don’t underestimate the importance of hair clips and elastics in achieving mermaid waves. Sectioning your hair with clips ensures even curl distribution, making the process more manageable. Elastic hair ties come in handy when you’re working with sections of hair, preventing them from getting tangled while you style the rest.
Step-by-Step Guide: Beachy Waves
Creating those coveted beachy waves is a breeze when you have the right techniques up your sleeve. In this step-by-step guide, we’ll explore three methods to achieve those effortless, tousled waves that scream “beach day.” Let’s dive in:
Method 1: Using a Curling Wand
- Sectioning Your Hair: Begin by dividing your hair into manageable sections. For best results, work with small to medium-sized sections. Secure the rest of your hair with clips or hair ties to keep it out of the way.
- Wrapping and Holding Technique: Take a section of hair and wrap it around the curling wand, leaving the ends out for a relaxed look. Hold for about 5-10 seconds, but adjust the time for your hair type – less for finer hair and more for thicker hair.
- Tips for Achieving a Natural Look: To make your waves appear more natural, alternate the direction you wrap your hair around the wand. This variation prevents uniform curls and gives you those effortlessly tousled waves.
Method 2: Using a Flat Iron
- How to Properly Clamp and Twist the Hair: Take a small section of hair and clamp your flat iron near the root. Twist the flat iron away from your face while moving it down the length of your hair. This twisting motion creates soft waves.
- Maintaining Consistency Throughout: Ensure you’re consistently twisting the flat iron in the same direction for all sections of hair. This uniformity helps achieve a cohesive beachy wave look.
Method 3: Using Hot Rollers
- Setting Your Hair for Volume and Waves: Start with dry hair. Roll sections of hair onto hot rollers, securing them close to the scalp. The tighter you roll, the more defined your waves will be. Allow the rollers to cool completely.
- Waiting for Curls to Cool Before Styling: Patience is key with hot rollers. Wait until they’ve completely cooled before removing them. This ensures your waves set properly, and your style lasts longer.
Step-by-Step Guide: Boho Waves
Boho waves exude an effortlessly chic and carefree vibe that’s perfect for any free spirit. In this step-by-step guide, we’ll unravel three methods to help you achieve those dreamy, bohemian-inspired waves.
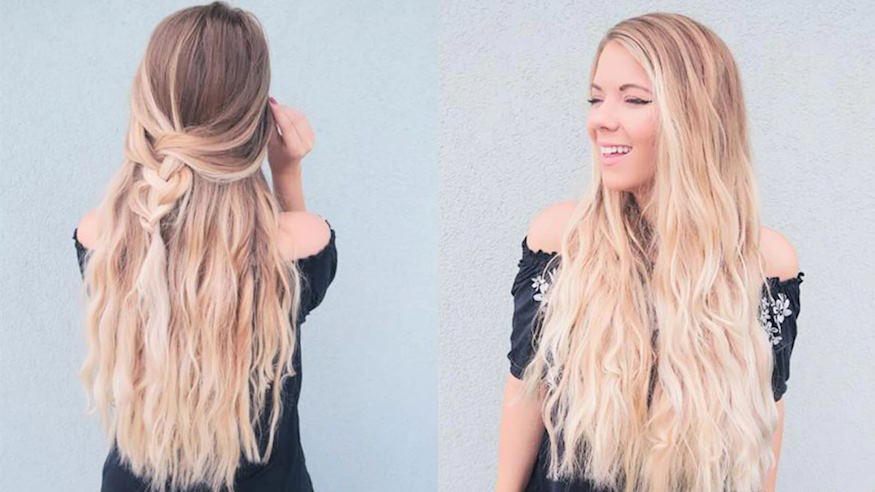
Method 1: Braiding Your Hair
- Different Braiding Techniques for Varied Results: Braids come in various styles, and each can yield unique results. For loose and romantic boho waves, try a loose three-strand braid. For tighter waves with more structure, opt for smaller fishtail or Dutch braids. Experiment with different sections of hair to find the perfect balance for your desired look.
- Overnight vs. Heat-Assisted Braiding: The choice between overnight braiding and heat-assisted methods depends on your schedule and preferences. Overnight braiding involves creating braids before bedtime, allowing your hair to set naturally. Heat-assisted braiding uses a flat iron or curling wand to heat the braids briefly, setting the waves more quickly.
Method 2: Twist and Pin
- How to Twist Sections and Secure Them: Begin by taking small sections of hair and twisting them away from your face. Once twisted, secure the ends with bobby pins or hairpins. Continue this process around your head until all sections are twisted and pinned. For a more relaxed look, leave a few face-framing strands loose.
- Adding Accessories for a Boho Touch: Elevate your boho waves by incorporating accessories like flower crowns, headbands, or beads. These additions enhance the bohemian aesthetic, making your waves truly stand out as a reflection of your unique style.
Method 3: Sea Salt Spray and Scrunching
- Creating Texture with Sea Salt Spray: Begin with slightly damp hair and spritz it generously with a sea salt spray. Scrunch your hair from the ends to the roots to distribute the product evenly. The sea salt spray creates a beachy, textured look that’s a hallmark of boho waves.
- Scrunching for a Messy, Boho Effect: Continue to scrunch your hair until it’s dry, either naturally or with a diffuser attachment on your hairdryer. This scrunching action enhances the messy, relaxed appearance characteristic of boho waves. For extra volume, flip your hair upside down and scrunch as well.