The eyes have long been regarded as windows to the soul, and it’s no wonder that enhancing their beauty has been a timeless pursuit. Among the many secrets to captivating eyes, one element stands out — eyelashes. These seemingly inconspicuous strands of hair framing our eyes possess the remarkable ability to transform our entire look. The art of eyelash curling and mascara application is an intricate dance that can make your lashes go from ordinary to extraordinary, adding depth, drama, and allure to your gaze.
Eyelash Curling: The Art and Technique
If you’ve ever wondered how to achieve those beautifully curled eyelashes that seem to effortlessly open up your eyes, you’re in the right place. Eyelash curling is an art that can elevate your eye makeup game to a whole new level. In this section, we’ll explore the different types of eyelash curlers, provide a step-by-step guide to curling your lashes, and discuss the wonderful benefits of this often underrated beauty technique.
Different Types of Eyelash Curlers
Eyelash curlers come in various shapes and sizes, each catering to different preferences and eye shapes. The two most common types are the traditional clamp-style curlers and the heated eyelash curlers.
- Traditional Clamp-Style Curlers: These are the classic eyelash curlers you’ve likely seen or used. They consist of two curved metal or silicone pads that clamp together to curl your lashes.
- Heated Eyelash Curlers: These modern curlers use gentle heat to help curl your lashes more effectively. They resemble a mascara wand with a heated tip.
Step-by-Step Guide to Curling Eyelashes
Now, let’s walk through the process of curling your lashes effectively, ensuring that your eyes truly pop.
- Preparation and Tools:
Begin with clean eyelashes. Remove any makeup or residue.
Ensure your curler is clean and in good condition.
Have a mirror and mascara ready for the finishing touches.
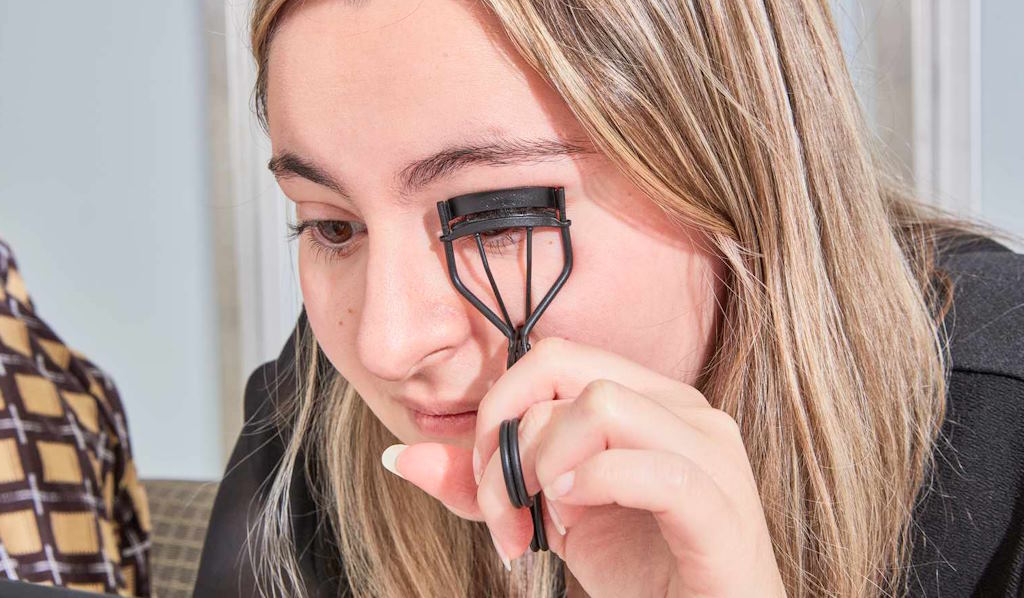
- Proper Curling Technique:
Open the curler and place your lashes between the clamps, as close to the base as possible without pinching your eyelid.
Gently close the curler and hold it in place for about 5-10 seconds.
Release the curler and carefully remove it from your lashes.
- Safety Precautions:
Always curl your lashes before applying mascara to avoid breakage.
Be gentle. Don’t squeeze too hard to avoid damaging your lashes or eyelids.
Clean your curler regularly to prevent bacteria buildup.
The Benefits of Eyelash Curling
Eyelash curling isn’t just about aesthetics; it also offers some fantastic benefits:
- Enhancing the Appearance of Eye Shape: Curling your lashes can make your eyes appear larger and more defined, especially if you have straight or downward-pointing lashes.
- Creating a Wide-Eyed Look: Curled lashes lift your lashes away from your eyes, creating a more awake and wide-eyed appearance, making you look refreshed even on your busiest days.
Mascara Application: A Step-by-Step Guide
Mascara is the magic wand that can instantly transform your eyelashes, making them appear longer, thicker, and more defined. However, mastering the art of mascara application is essential to avoid common pitfalls and make the most of this beauty essential. In this section, we’ll walk you through a comprehensive step-by-step guide for perfect mascara application, along with tips to steer clear of typical mascara mishaps.
Preparing Your Eyelashes
Before you dive into applying mascara, it’s crucial to prepare your lashes properly.
- Curling (if Desired):
If you prefer curled lashes, use an eyelash curler before applying mascara. Be gentle and avoid tugging on your lashes to prevent damage.
- Using an Eyelash Primer (Optional):
If you want extra volume and length, consider using an eyelash primer before your mascara. This step can help your mascara adhere better and create a more dramatic effect.
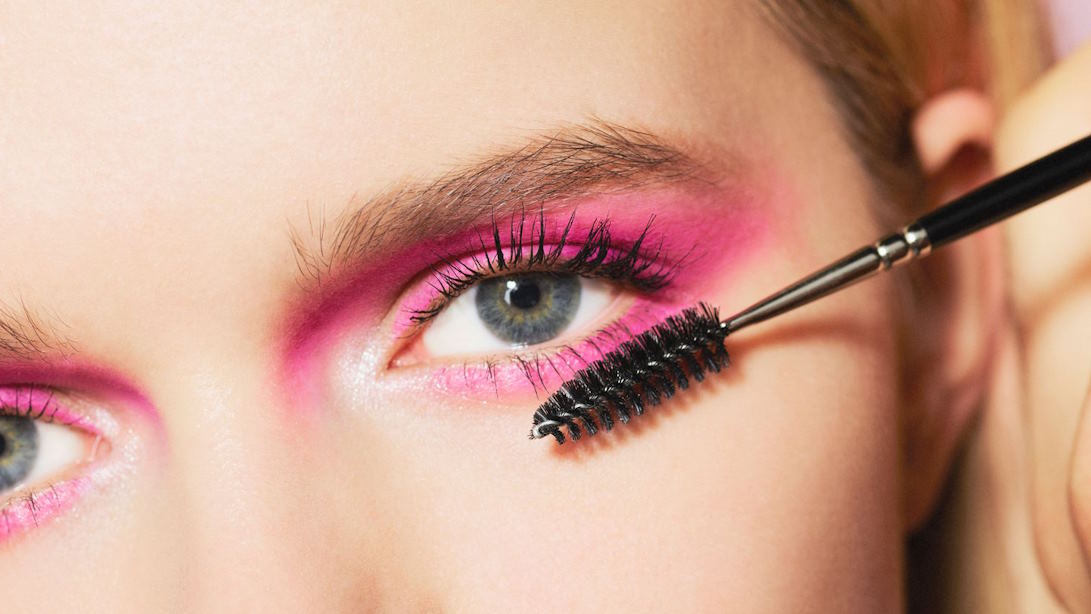
Applying Mascara
Now, let’s get into the nitty-gritty of mascara application for those striking lashes.
- Starting at the Roots:
Hold your mascara wand horizontally and start at the base of your lashes. Wiggle the wand back and forth to ensure even coverage at the roots.
- Wiggling the Wand for Even Coverage:
As you move the wand upwards, wiggle it gently from side to side. This motion separates and coats each lash, giving a fuller appearance.
- Layering for Desired Effect:
If you want a more dramatic look, allow the first coat to dry slightly, then apply additional layers. Just be cautious not to overdo it, as this can lead to clumping.
Avoiding Common Mascara Application Mistakes
Mascara can sometimes be tricky, leading to common mishaps. Here’s how to steer clear of them:
- Clumping and Spider Lashes:
Avoid clumps by wiping excess mascara off the wand before applying.
Comb through your lashes with a clean mascara wand to separate them if clumps occur.
- Smudging and Flaking:
Opt for waterproof mascara to prevent smudging.
To avoid flaking, replace your mascara every few months, as it can dry out over time.
Removing Mascara Safely and Effectively
Properly removing mascara is as crucial as applying it. Here’s how to do it right:
- Importance of Gentle Makeup Removal:
Use a gentle eye makeup remover to dissolve mascara without tugging on your lashes or the delicate skin around your eyes.
Be patient; let the makeup remover work its magic before wiping it away.
- Recommended Makeup Removers:
Look for oil-based or micellar water makeup removers, as they are effective at breaking down mascara without excessive rubbing.